Delete Volume
This guide walks you through the steps to delete a volume—either a root or data volume—from your cloud management portal. Deleting unused volumes helps manage storage quotas and keep your workspace clean.
Warning: Once a volume is deleted, it cannot be recovered. Make sure you’ve backed up any data you need before proceeding.
Before You Begin
To delete a volume, it must not be attached to a virtual machine (VM).
-
If the volume is still attached to a VM, you won’t see the delete option.
-
This applies to both root and data volumes.
Make sure the volume is detached from its VM before continuing.
Volume Deletion
1. Accessing the Volume Section :
-
Log in to your Cloud Management Portal using your authorized credentials.
-
From the left navigation pane, go to:
Compute → Volume
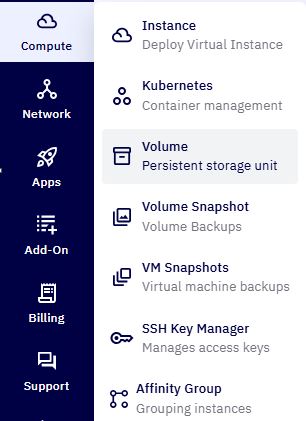
- A list of all root and data volumes associated with your cloud account will be displayed.
2. Detach the Volume :
-
If your volume is still attached to a VM, stop the VM and detach the volume first.
-
Once detached, the delete option will become available.
3. Volume Deletion :
-
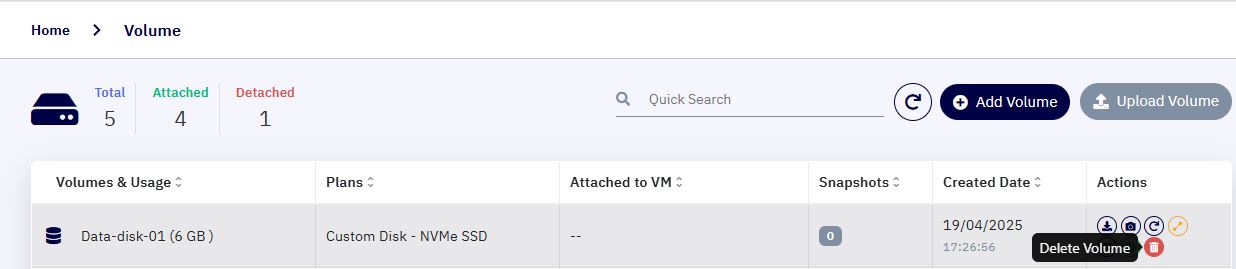
Find the volume you want to delete.
-
Click the ** Delete** icon under the Actions column.
4. Confirm the Deletion :
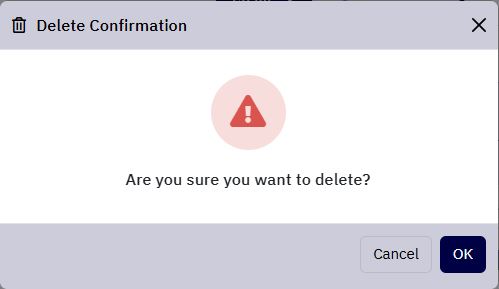
A confirmation pop-up will appear:
“Are you sure you want to delete this volume?”
-
Click OK to confirm and delete.
-
Click Cancel to go back without deleting.
After Deletion
-
The volume will be removed from your volume list.
-
This action frees up your storage quota.
-
Deleted volumes cannot be restored, so be sure before you proceed.